Oracle Arm 搭建 幻想帕鲁(Palworld) 服务器
前景提要: 众所周知,幻想帕鲁服务器很吃内存,需要上高配服务器才能吃得消。
但 MJJ 人均 龟壳Arm,龟壳的4H24G的配置正好可以拿来开服。但安装幻想帕鲁服务器需要steamcmd,不幸的是steamcmd并不支持arm,于是有了本文的折腾部分
省流版:编译安装Box64和Box86,后续就和正常的搭建流程一样了
正片开始:
环境:Ubuntu 22.04
编译安装Box64 和Box86
参考了一篇博客的教程
打开容器,首先先启用armhf并更新,输入
sudo dpkg --add-architecture armhf && sudo apt update && sudo apt upgrade
然后我们安装依赖
sudo apt install git build-essential cmake wget && sudo apt install gpg -y && sudo apt install libgl1:armhf libgl1 -y && sudo apt install libasound2:armhf libc6:armhf libglib2.0-0:armhf libgphoto2-6:armhf libgphoto2-port12:armhf libgstreamer-plugins-base1.0-0:armhf libgstreamer1.0-0:armhf libpcap0.8:armhf libpulse0:armhf libsane1:armhf libudev1:armhf libusb-1.0-0:armhf libx11-6:armhf libxext6:armhf ocl-icd-libopencl1:armhf libasound2-plugins:armhf libncurses6:armhf libcap2-bin:armhf libcups2:armhf libdbus-1-3:armhf libfontconfig1:armhf libfreetype6:armhf libglu1-mesa:armhf libgnutls30:armhf libgssapi-krb5-2:armhf libkrb5-3:armhf libodbc1:armhf libosmesa6:armhf libsdl2-2.0-0:armhf libv4l-0:armhf libxcomposite1:armhf libxcursor1:armhf libxfixes3:armhf libxi6:armhf libxinerama1:armhf libxrandr2:armhf libxrender1:armhf libxxf86vm1:armhf -y && sudo apt install libasound2 libc6 libglib2.0-0 libgphoto2-6 libgphoto2-port12 libgstreamer-plugins-base1.0-0 libgstreamer1.0-0 libpcap0.8 libpulse0 libsane1 libudev1 libunwind8 libusb-1.0-0 libx11-6 libxext6 ocl-icd-libopencl1 libasound2-plugins libncurses6 libcap2-bin libcups2 libdbus-1-3 libfontconfig1 libfreetype6 libglu1-mesa libgnutls30 libgssapi-krb5-2 libkrb5-3 libodbc1 libosmesa6 libsdl2-2.0-0 libv4l-0 libxcomposite1 libxcursor1 libxfixes3 libxi6 libxinerama1 libxrandr2 libxrender1 libxxf86vm1 -y
编译Box86
cd ~/ && sudo apt-get install libc6:armhf && sudo apt install gcc-arm-linux-gnueabihf && git clone https://github.com/ptitSeb/box86 && cd box86 && mkdir build; cd build; cmake .. -DRPI4ARM64=1 -DCMAKE_BUILD_TYPE=RelWithDebInfo
为了防止意外,以下命令请分条单独执行
 make -j$(nproc)
 sudo make install
编译Box64
cd ~/ && git clone https://github.com/ptitSeb/box64.git && cd box64 && mkdir build && cd build && cmake .. -DRPI4ARM64=1 -DCMAKE_BUILD_TYPE=RelWithDebInfo
为了防止意外,以下命令请分条单独执行
make -j$(nproc)
sudo make install
编译包的时间可能略长,请耐心等待
下载steamcmd
注意执行下面的操作前需要新建一个用户,需要使用非root用户
新建一个用户,这里取名叫
steamsudo useradd -m steam sudo passwd steam
添加sudo权限(可选)sudo usermod -aG sudo steam切换用户
sudo -u steam -s
先新建一个目录
mkdir ~/Steam && cd ~/Steam
下载steamcmd
curl -sqL "https://steamcdn-a.akamaihd.net/client/installer/steamcmd_linux.tar.gz" | tar zxvf -
测试steamcmd能否正常运行,输入quit退出
./steamcmd.sh
如果不报错就可以继续了
安装 幻兽帕鲁(Palworld)服务器
安装 服务器
./steamcmd.sh login anonymous app_update 2394010 validate quit
默认安装在当前用户主目录下的Steam文件夹内
检查
cd ~/Steam/steamapps/common/PalServer
./PalServer.sh
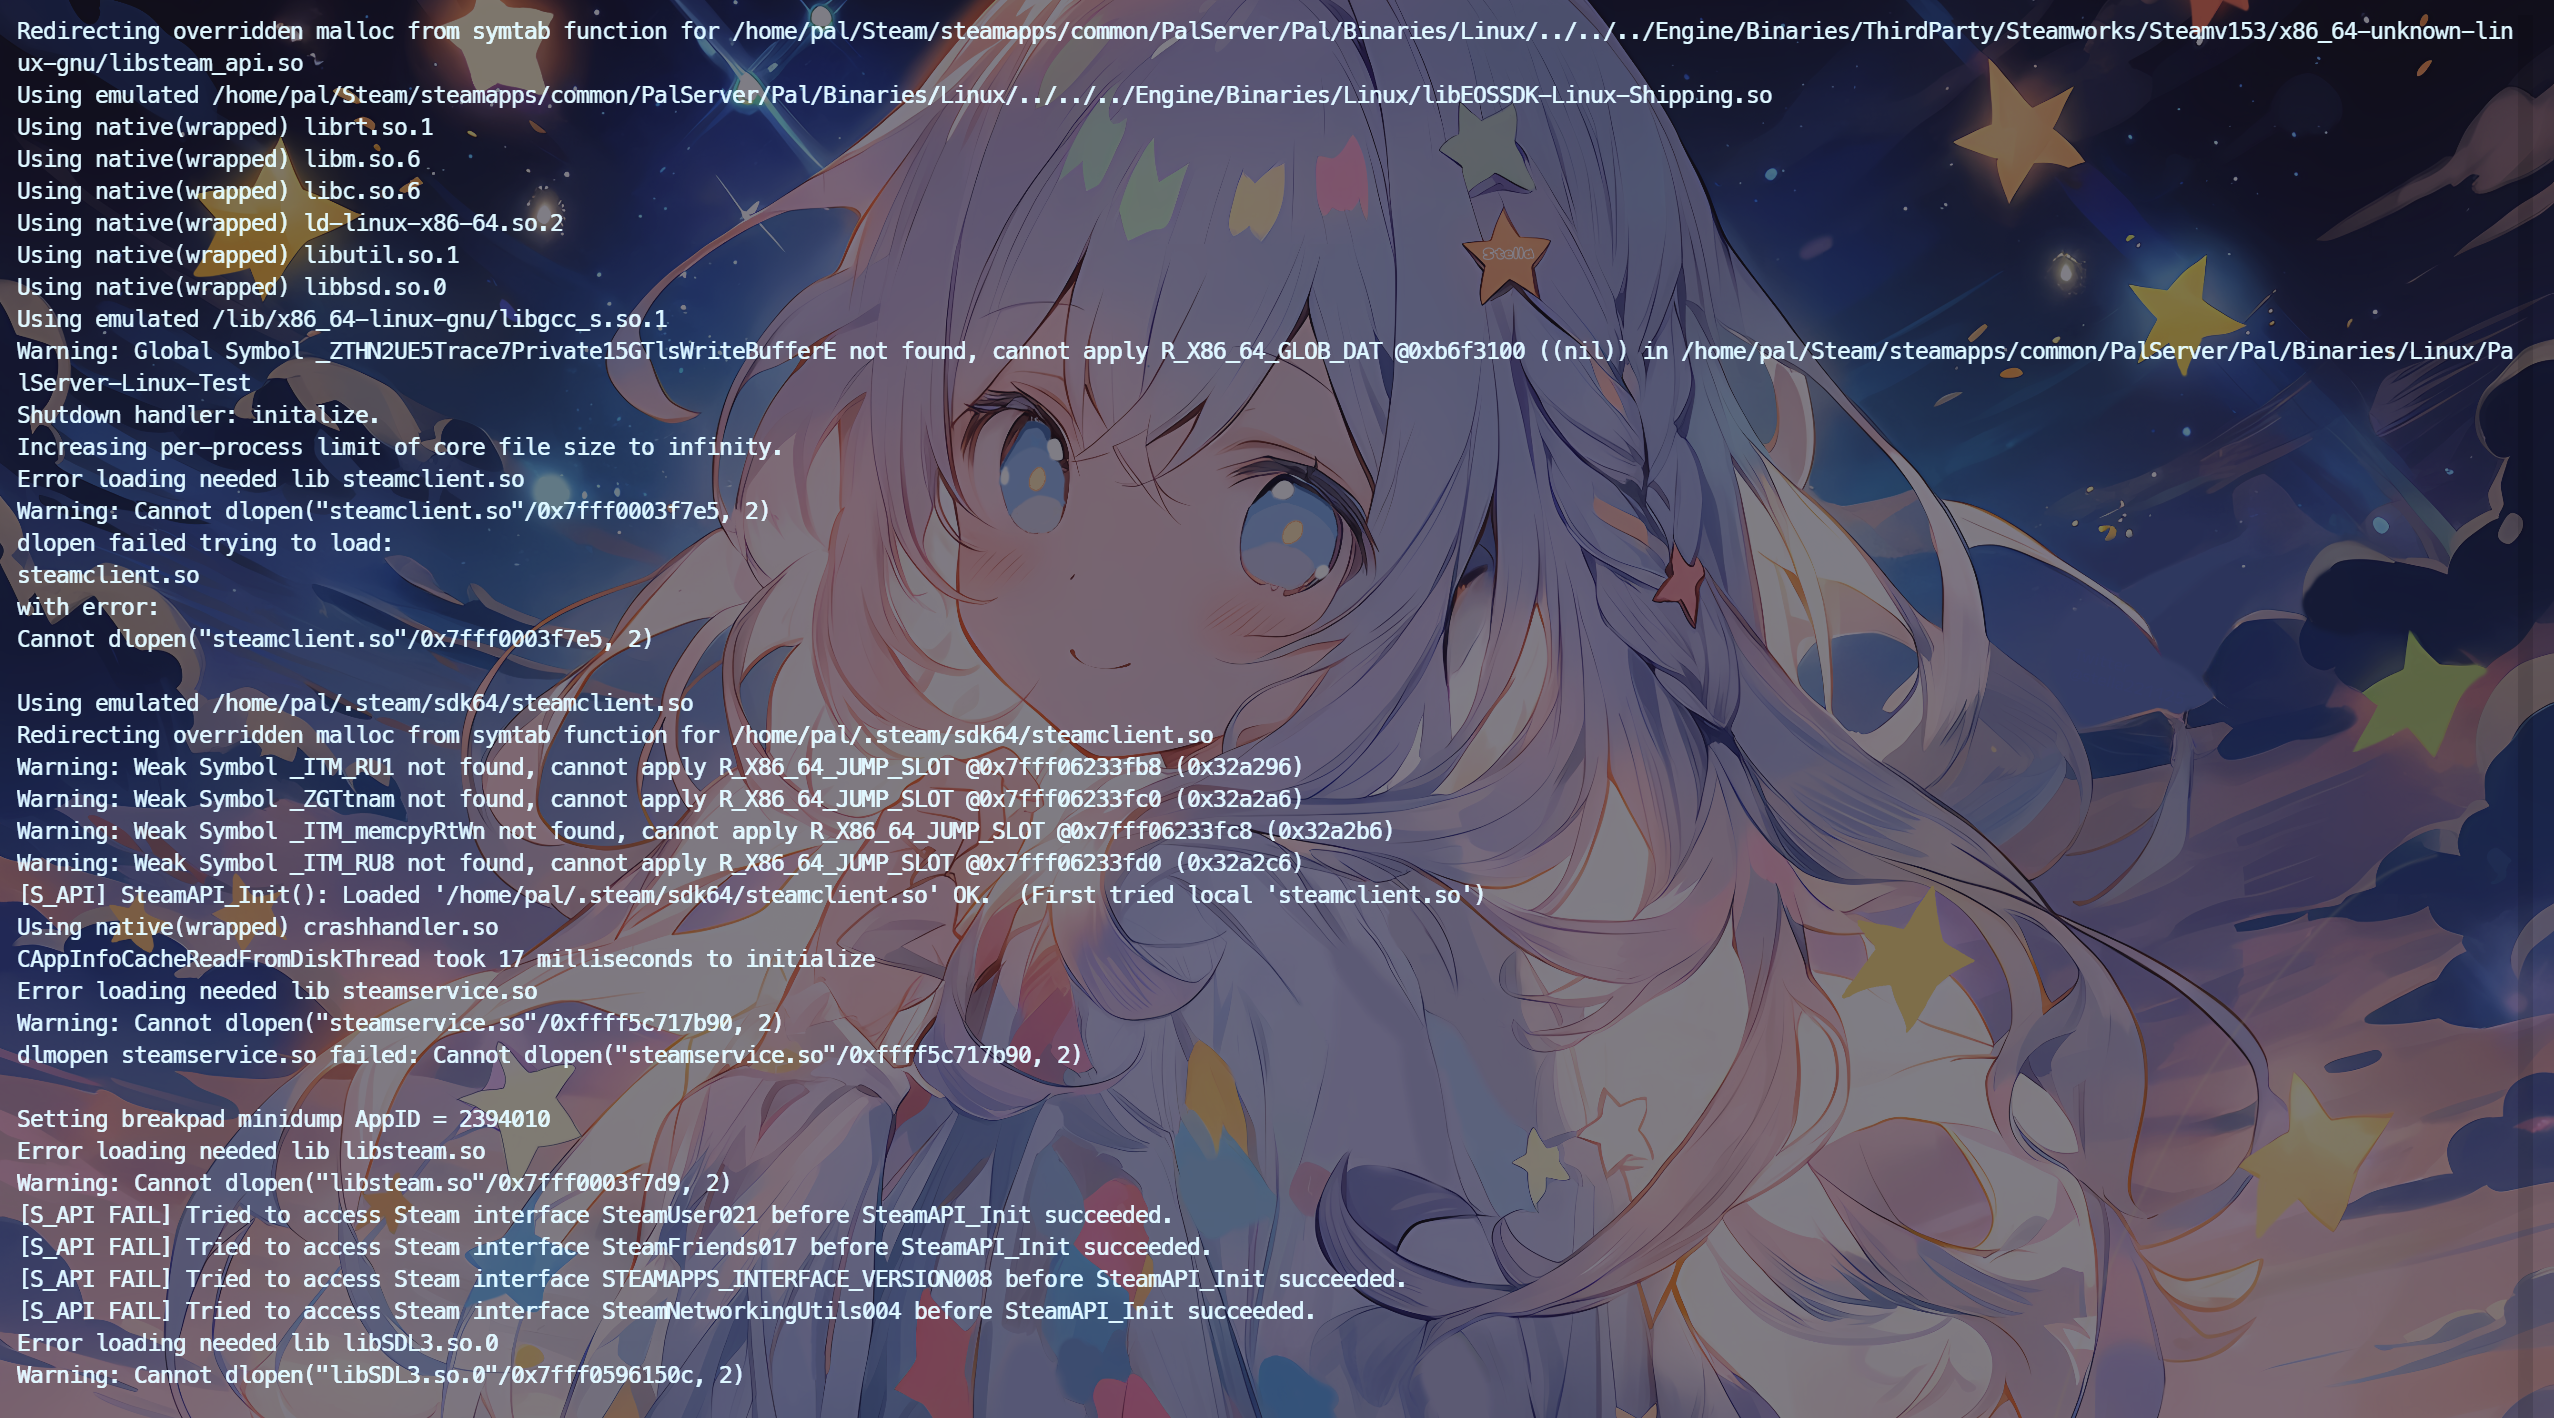
正常启动提示:
dlmopen steamservice.so failed: steamservice.so: cannot open shared object file: No such file or directory
Setting breakpad minidump AppID = 2394010
[S_API FAIL] Tried to access Steam interface SteamUser021 before SteamAPI_Init succeeded.
[S_API FAIL] Tried to access Steam interface SteamFriends017 before SteamAPI_Init succeeded.
[S_API FAIL] Tried to access Steam interface STEAMAPPS_INTERFACE_VERSION008 before SteamAPI_Init succeeded.
[S_API FAIL] Tried to access Steam interface SteamNetworkingUtils004 before SteamAPI_Init succeeded.
接下来配置服务器文件
服务器文件配置
配置文件路径: /游戏服务根目录/Pal/Saved/Config/LinuxServer/PalWorldSettings.ini,该文件默认是空的,需要手动去拷贝/复制
默认配置文件
默认配置文件在/游戏根目录/DefaultPalWorldSettings.ini
; This configuration file is a sample of the default server settings.
; Changes to this file will NOT be reflected on the server.
; To change the server settings, modify Pal/Saved/Config/LinuxServer/PalWorldSettings.ini.
[/Script/Pal.PalGameWorldSettings]
OptionSettings=(Difficulty=None,DayTimeSpeedRate=1.000000,NightTimeSpeedRate=1.000000,ExpRate=1.000000,PalCaptureRate=1.000000,PalSpawnNumRate=1.000000,PalDamageRateAttack=1.000000,PalDamageRateDefense=1.000000,PlayerDamageRateAttack=1.000000,PlayerDamageRateDefense=1.000000,PlayerStomachDecreaceRate=1.000000,PlayerStaminaDecreaceRate=1.000000,PlayerAutoHPRegeneRate=1.000000,PlayerAutoHpRegeneRateInSleep=1.000000,PalStomachDecreaceRate=1.000000,PalStaminaDecreaceRate=1.000000,PalAutoHPRegeneRate=1.000000,PalAutoHpRegeneRateInSleep=1.000000,BuildObjectDamageRate=1.000000,BuildObjectDeteriorationDamageRate=1.000000,CollectionDropRate=1.000000,CollectionObjectHpRate=1.000000,CollectionObjectRespawnSpeedRate=1.000000,EnemyDropItemRate=1.000000,DeathPenalty=All,bEnablePlayerToPlayerDamage=False,bEnableFriendlyFire=False,bEnableInvaderEnemy=True,bActiveUNKO=False,bEnableAimAssistPad=True,bEnableAimAssistKeyboard=False,DropItemMaxNum=3000,DropItemMaxNum_UNKO=100,BaseCampMaxNum=128,BaseCampWorkerMaxNum=15,DropItemAliveMaxHours=1.000000,bAutoResetGuildNoOnlinePlayers=False,AutoResetGuildTimeNoOnlinePlayers=72.000000,GuildPlayerMaxNum=20,PalEggDefaultHatchingTime=72.000000,WorkSpeedRate=1.000000,bIsMultiplay=False,bIsPvP=False,bCanPickupOtherGuildDeathPenaltyDrop=False,bEnableNonLoginPenalty=True,bEnableFastTravel=True,bIsStartLocationSelectByMap=True,bExistPlayerAfterLogout=False,bEnableDefenseOtherGuildPlayer=False,CoopPlayerMaxNum=4,ServerPlayerMaxNum=32,ServerName="Default Palworld Server",ServerDescription="",AdminPassword="",ServerPassword="",PublicPort=8211,PublicIP="",RCONEnabled=False,RCONPort=25575,Region="",bUseAuth=True,BanListURL="https://api.palworldgame.com/api/banlist.txt")
配置文件汉化的部分参考这篇博客
这里就不再贴出了,只说几个主要的配置项
| 配置项 | 汉化 | 内容 |
|---|---|---|
| Difficulty | 难度 | 默认:None |
| DeathPenalty | 死亡惩罚(无:无丢失,物品:不带装备的丢失物品,物品和装备:丢失物品和装备,全部:丢失所有物品、装备、伙伴(库存中)) | None : No lost, Item : Lost item without equipment, ItemAndEquipment : Lost item and equipment, All : Lost All item, equipment, pal(in inventory) |
| ServerPlayerMaxNum | 服务器人数 | 默认:32 |
| ServerName | 服务器名称 | 随意,可中文 |
| ServerDescription | 服务器描述信息 | 随意,可中文 |
| AdminPassword | 管理员密码 | 管理员密码 |
| ServerPassword | 服务器密码 | 建议先不要设置,因为第一次连接不弹密码验证框,不然第一次会连不上 |
| PublicPort | 服务器端口 | 默认:8211,建议修改 |
| PublicIP | 公网Ip | 可选 |
| RCONEnabled | 是否启用RCON | 默认:False,可以使用RCON 远程管理游戏服务器 |
| RCONPort | RCON 端口 | 默认:25575,(tcp协议) |
正式启动
多线程优化参数-useperfthreads -NoAsyncLoadingThread -UseMultithreadForDS
官方参数 :
| port=8211 | 指定端口号为8211, |
|---|---|
| players=32 | 设置游戏人数上限 |
记得开放对应的防火墙和甲骨文后台开放对应的端口
我是用的是ufw
sudo ufw allow 8211
sudo ufw allow 8211/udp
可以使用screen进行后台保活
sudo apt install screen
这里我加了指定端口参数,
screen -S Palworld
./PalServer.sh -useperfthreads -NoAsyncLoadingThread -UseMultithreadForDS port=8211
附上
Screen使用指南screen -ls 列出当前所有的session screen -S myserver 创建一个名为 myserver的screen Ctrl a d 退出当前screen screen -r myclient 进入窗口myclient exit 退出并关闭会话
注意启动过程中可能出现一些库未能加载,但不影响服务器启动
SWAP设置和自动重启这个就自行解决吧
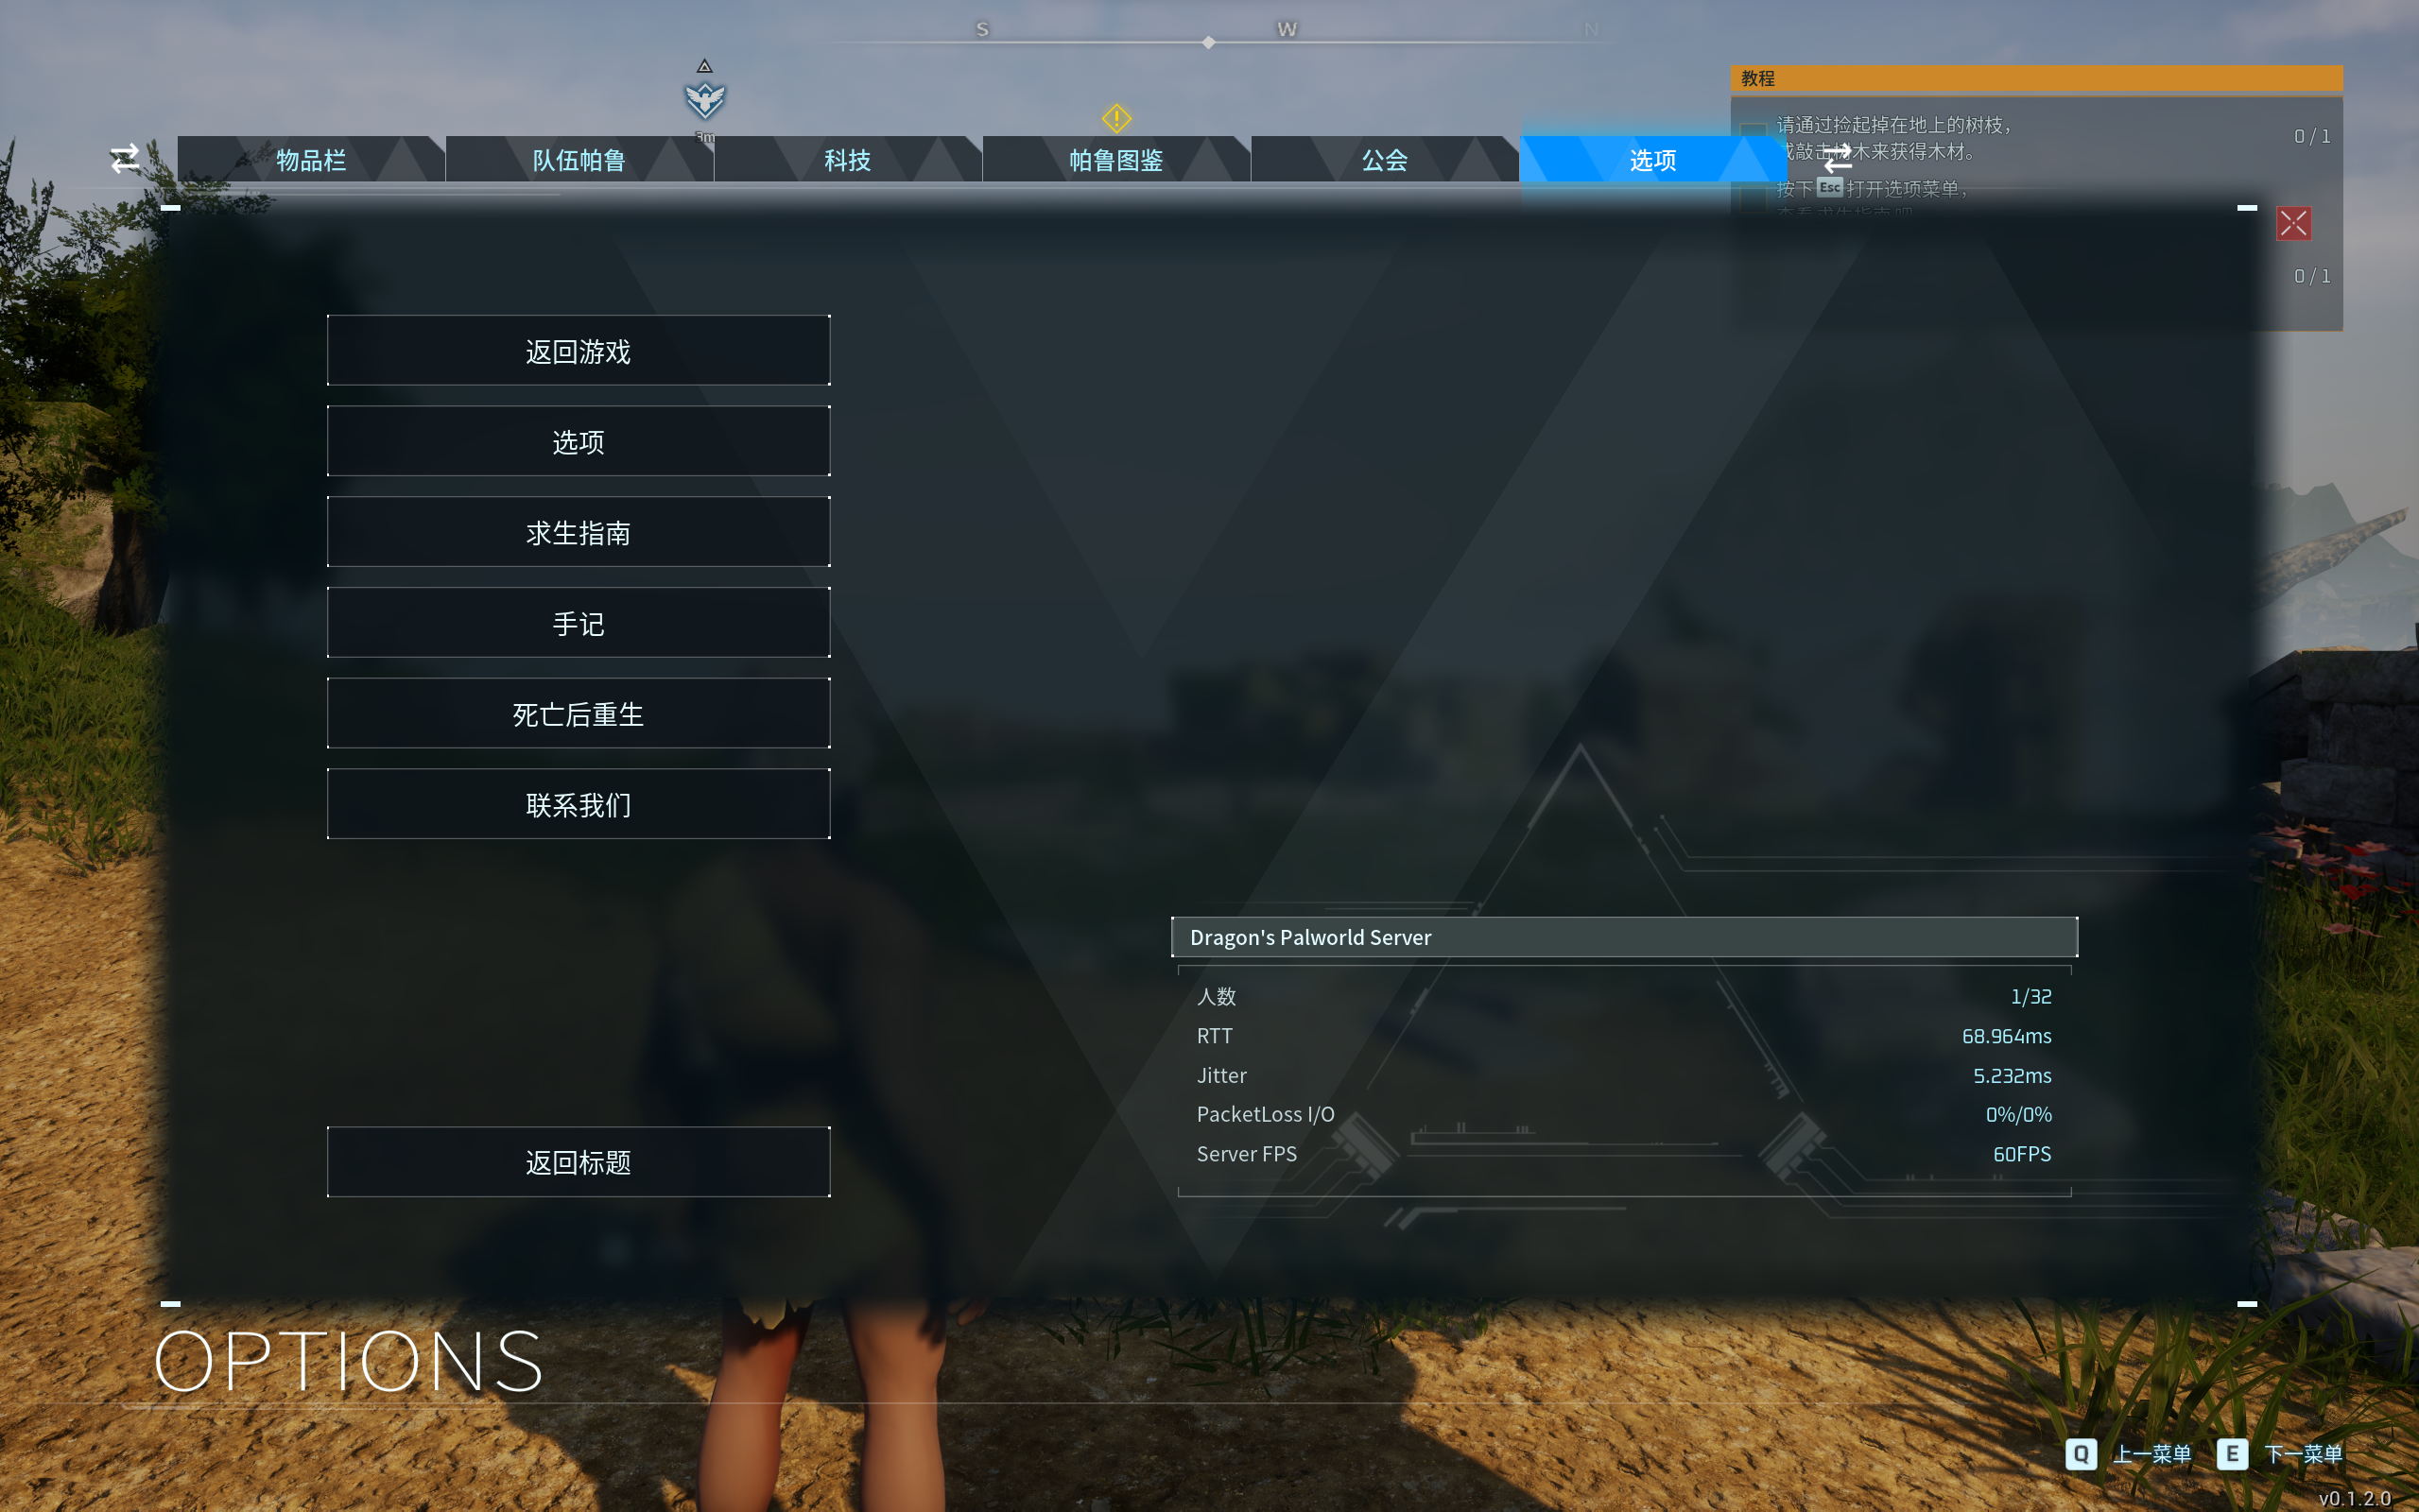
如果没有问题,那么可以顺利进入游戏
(图中延迟低是因为走了代理)
空载资源占用情况:

(由于是Box64 转 x86运行的,cpu占用确实高)
服务器运行截图:
RCON连接:
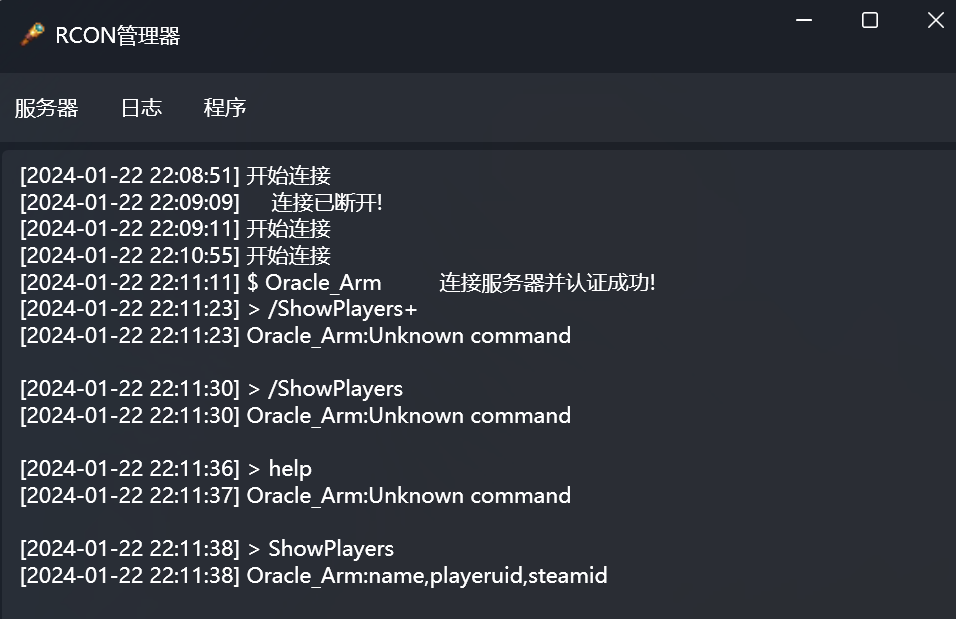
游戏内指令可以看这个博客
常见问题
-
出现有关
steamclient.so的问题:解决办法:
mkdir -p ~/.steam/sdk64/ cd ~/Steam ./steamcmd.sh login anonymous app_update 1007 quit cp ~/Steam/steamapps/common/Steamworks\ SDK\ Redist/linux64/steamclient.so ~/.steam/sdk64/ -
无法加载/找不到
libXX.so:找到对应的文件后可以放入/usr/lib/x86_64-linux-gnu/我遇到过libsteam_api.so和libEOSSDK-Linux-Shipping.so -
别的操作都对,但是连不上:请先检查防火墙是否开放,请检查是否设置了服务器密码
这里参考的这篇博客,
设置服务器密码以后,只能通过游戏内服务器列表或者是历史游戏记录中进入,那样才有输入密码的提示框
直连IP或者域名反而没有任何提示框,会导致提示没有输入密码而进不去

是技术贴
紧跟时事
查了一下最起码也要16G内存起...